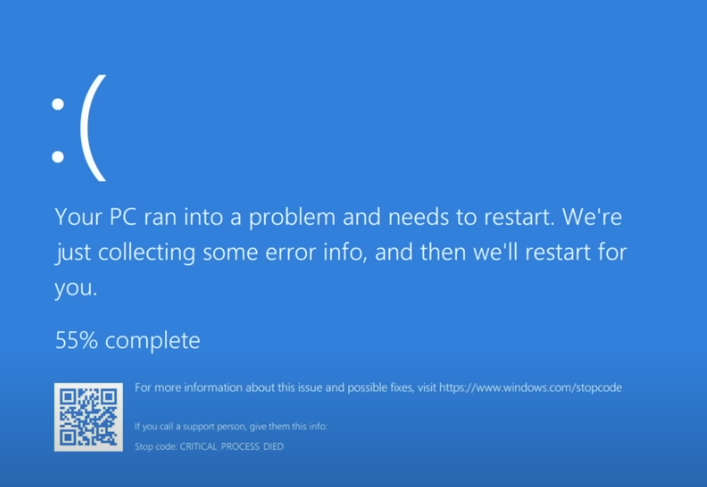
If you are seeing the following July 2024 Windows error, follow the following steps or call for fixed price services:
Approach 1: Manually Deleting the Channel file (“C-00000291*.sys”)
Step1: Boot into Safe Mode or Windows Recovery Environment (WRE):
This will load Windows with minimal drivers and programs.
While Windows 11 has a different interface, entering Safe Mode or WRE follows similar principles to Windows 10. Here’s how to access them:
Entering Safe Mode:
Method 1: Using Shift + Restart
- Open Start Menu: Click the Windows icon in the taskbar.
- Click Power Button: It’s next to your profile picture.
- Hold Shift and Click Restart: Hold down the Shift key and then click “Restart” from the power menu.
- Choose an option: After your PC restarts, you’ll see a blue screen titled “Choose an option”.
- Select Troubleshoot: Click on “Troubleshoot”.
- Go to Advanced options: Choose “Advanced options” from the available options.
- Open Startup Settings: Click on “Startup Settings”.
- Restart to Change Settings: Click “Restart” to initiate a restart with additional boot options.
- Press 4 or F4 for Safe Mode: Once your PC restarts again, you’ll see a list of startup options. Press the number “4” or the “F4” key on your keyboard to boot into Safe Mode.
- Optional: Safe Mode with Networking: If you need internet access in Safe Mode, press “5” or “F5” instead.
Method 2: Using Sign-in Screen (For Working Windows)
- Open Start Menu: Click the Windows icon in the taskbar.
- Click on your profile picture in the bottom left corner of the Start Menu.
- Hold Shift and click “Sign out”: Hold down the Shift key and then click “Sign out” from the profile menu.
- Click “Restart” while holding Shift: Keep holding the Shift key and then click “Restart” on the confirmation prompt.
- Follow Steps 5-10 from Method 1: The process from here is identical to using Shift + Restart.
Entering Windows Recovery Environment (WRE):
Similar to Windows 10, WRE in Windows 11 provides a recovery environment for troubleshooting. Here’s how to access it:
Method 1: Using a Recovery Drive
- Create a Recovery Drive (if you don’t have one already): You can use a USB flash drive with at least 8GB of free space. Search online for specific instructions on creating a recovery drive for Windows 11.
- Boot from the Recovery Drive: Insert the recovery drive into your computer and restart. Your computer should automatically boot from the drive. If it doesn’t, you might need to change the boot order in your BIOS settings.
- Choose an option: You’ll see the “Choose an option” screen similar to Safe Mode.
- Proceed with WRE options: From here, you can access various recovery tools like System Restore, Reset this PC, and Command Prompt.
Method 2: Using Advanced Startup Options (similar to Safe Mode Method 1)
- Follow Steps 1-4 from Entering Safe Mode (Method 2): Use the Shift + Sign out and Restart method to access the “Choose an option” screen.
- Select Troubleshoot: Click on “Troubleshoot” to proceed.
- Go to Advanced options: Choose “Advanced options” from the available options.
- Use WRE Tools: You’ll now have access to various recovery tools within the Windows Recovery Environment.
Remember: It’s recommended to back up your important data before attempting any troubleshooting steps involving Safe Mode or WRE.
Step 2: Navigation to the file:
Once in Safe Mode/WRE, use the File Explorer to go to the following directory:C:\Windows\System32\drivers\CrowdStrike
Step 3: Delete the Faulty Channel File:
Look for a file named “C-00000291.sys” (the asterisk represents wildcard characters). Delete this specific file after investigating the following:
- Channel file “C-00000291*.sys” with timestamp of 0527 UTC or later is the reverted (good) version.
- Channel file “C-00000291*.sys” with timestamp of 0409 UTC is the problematic version.
Step 4: Restart your PC:
Reboot your computer normally. This should remove the problematic CrowdStrike file and hopefully resolve the outage.
Approach 2: Disabling CrowdStrike Driver in Safe Mode
Warning: Disabling the CrowdStrike driver might leave your system vulnerable until a proper fix is released. Only use this method as a temporary solution and consider re-enabling the driver once a permanent fix from CrowdStrike or Microsoft is available.
Here’s how to disable the CrowdStrike driver in Safe Mode on Windows 11:
Entering Safe Mode:
- Open the Start Menu: Click on the Windows icon in the bottom left corner of your screen.
- Click the Power Button: In the Start Menu, locate the power button icon.
- Hold Shift and Click Restart: Hold down the “Shift” key on your keyboard and click on the “Restart” option within the power menu.
This will trigger a restart with additional boot options.
- Choose Troubleshoot: On the “Choose an option” screen, select “Troubleshoot”.
- Navigate to Startup Settings: In the Troubleshoot menu, click on “Advanced options” and then “Startup Settings”.
- Restart with More Options: Click the “Restart” button to reboot your PC with startup options available.
- Choose Enable Safe Mode with Networking: Upon restart, you’ll see a list of boot options with corresponding function keys (F1-F12). Select “Enable Safe Mode with Networking” using the corresponding function key (usually F5). This allows you to access the internet while in Safe Mode, potentially helpful for downloading updates or drivers.
Disabling the Driver:
- Open Device Manager: Once in Safe Mode, right-click on the Start Menu icon and select “Search”. Type “Device Manager” and open the corresponding result.
- Locate CrowdStrike Driver: Expand the “Security software” section. Find the CrowdStrike driver (often named “csagent.sys”).
- Right-Click and Disable: Right-click on the CrowdStrike driver and select “Disable device”.
- Confirm Disabling: A confirmation window will appear. Click “Yes” to confirm disabling the driver.
- Safe Mode Restart Recommended: It’s recommended to restart your computer again in Safe Mode to ensure the changes take effect. Simply restart your computer normally from within Safe Mode.
Remember:
- This is a temporary solution. Re-enable the CrowdStrike driver once a permanent fix is available.
- Disabling security software might leave your system vulnerable. Use caution while browsing the internet or opening unknown files.
Approach 3: Fixing the July 2024 BSOD with System Restore
The method to fix the July 2024 Blue Screen of Death (BSOD) on Windows 11 involves using System Restore to revert your system to a point before the faulty CrowdStrike update. Here’s a breakdown of the steps with some additional considerations:
Fixing the BSOD with System Restore:
- Access System Restore: Click on the Start menu and type “create a restore point”. Click on “Create a restore point” when it appears in the search results.
- System Restore Window: In the System Properties window, click on “System Restore”.
- Choose a Restore Point: A new window will list available restore points. Ideally, choose a point created before July 19th, 2024 (the day the faulty update rolled out). If you don’t see a restore point from before that date, choose the closest one.
Important Considerations:
- Data Loss: System Restore will revert your system settings and applications to the state they were in at the chosen restore point. Any changes made after that point, including installed programs, downloaded files, and created documents, will be lost.
- Backup Recommendation: It’s highly recommended to back up any critical data before performing a System Restore, just in case.
Alternative Solutions:
- Microsoft Support: If System Restore doesn’t work or you’re uncomfortable using it, you can refer to the official Microsoft support page for further guidance on troubleshooting the BSOD: Microsoft support for Blue Screen of Death.
- Tech Professional Help: If you’re unsure about any step in the process or uncomfortable performing System Restore, seek assistance from a tech professional.
Staying Updated:
- Keep an eye on tech news websites for updates on the situation. CrowdStrike has likely released a fix for their faulty update by now, and Microsoft might have additional solutions available.
By following these steps and considering the alternatives, you should be able to resolve the July 2024 BSOD on your Windows 11 system. Remember, prioritize data safety and don’t hesitate to seek professional help if needed.